How to Measure for a Shower Door Seal: Thickness, Gap and Length
Last updated: October 2026
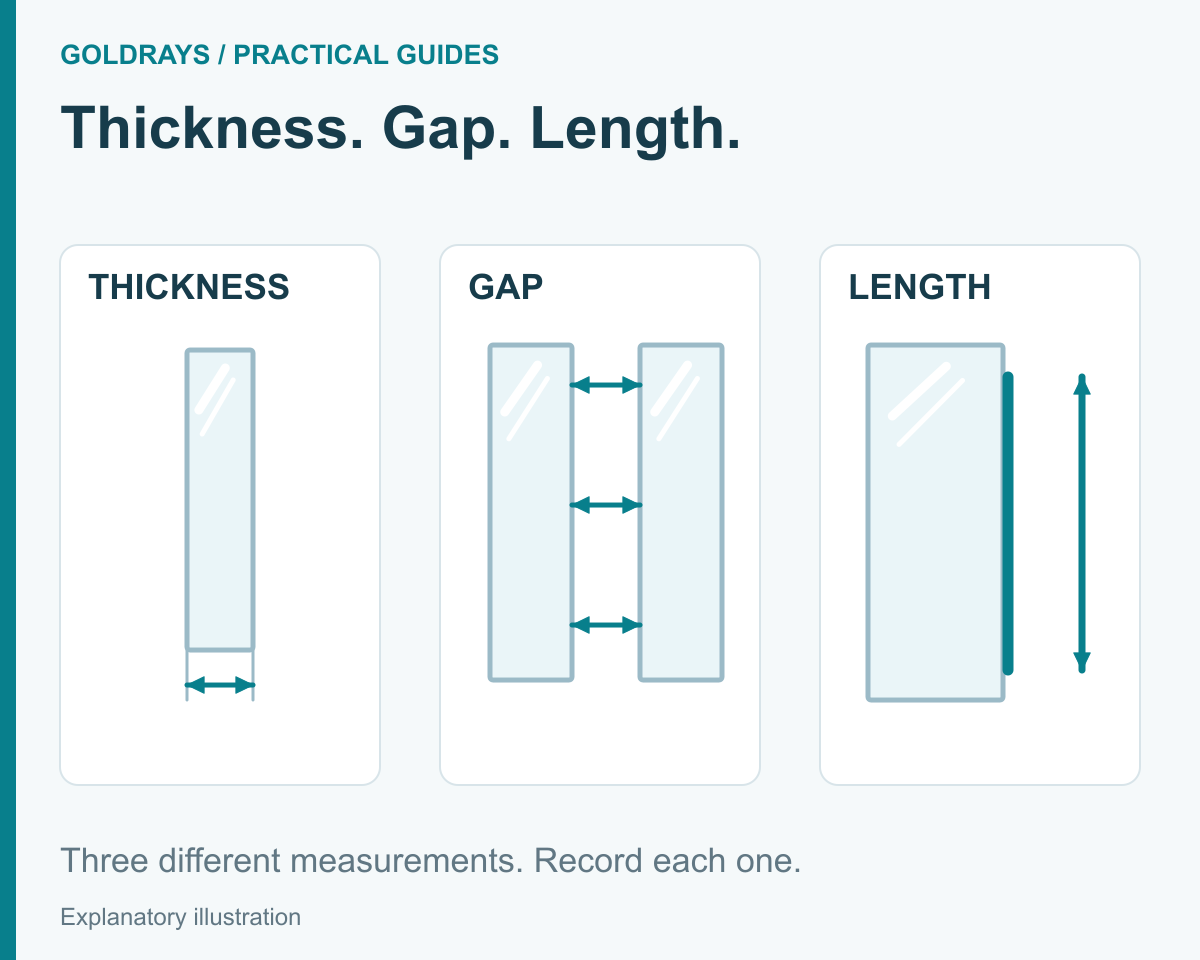
For a shower seal, record glass thickness, the relevant gap and the required length separately. A profile for 8 mm glass is not necessarily made to bridge an 8 mm gap.
1. Record the original setup
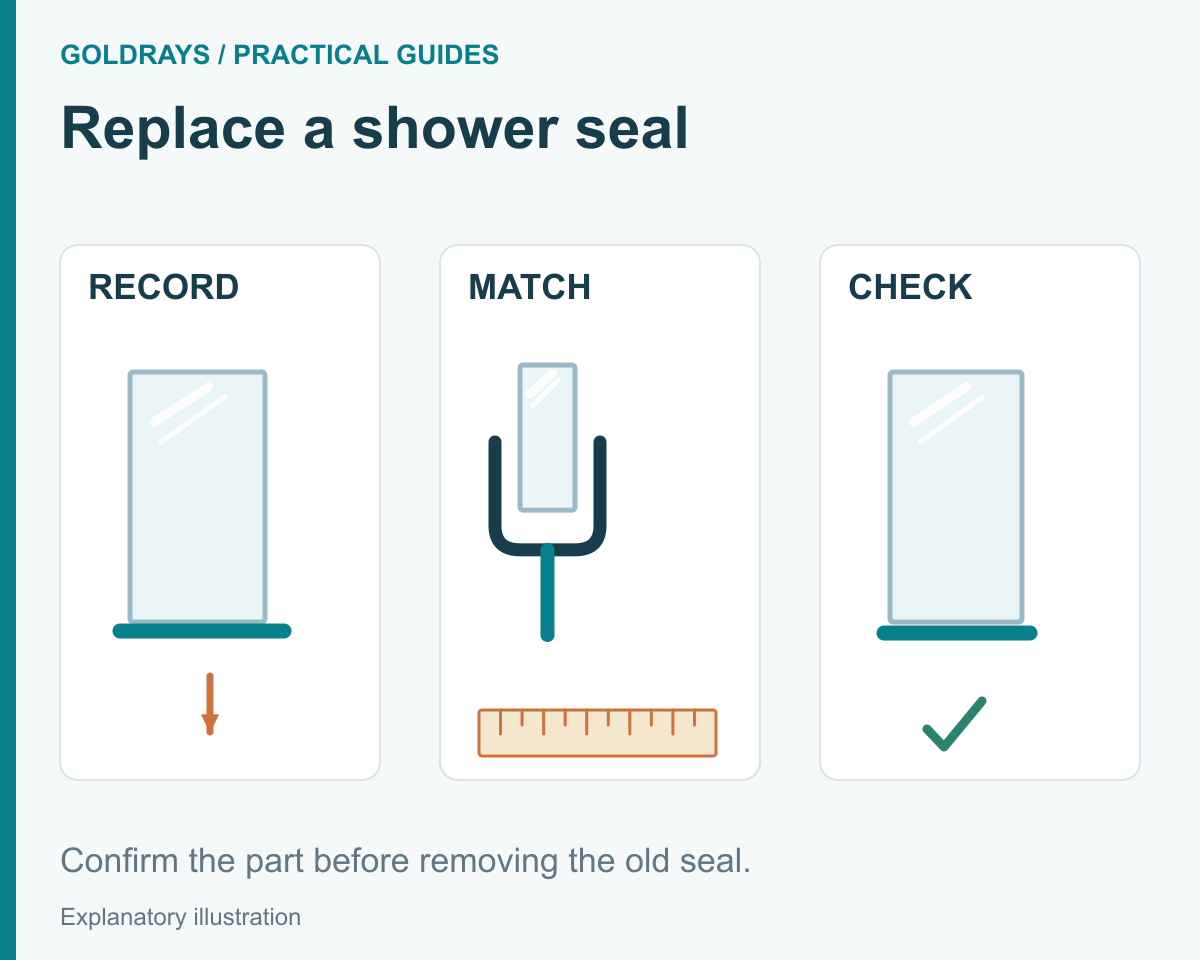
Photograph the enclosure, seal position and accessible end. Record the model and whether old seals remain fitted.
Gather the tools
- Thickness: the maker’s specification or a suitable glass-thickness gauge, used as instructed.
- Gap and length: a graduated ruler or tape; avoid striking glass.
- Record: camera and notes for readings, units and endpoints.
Before you start: measure only accessible areas of stable, undamaged glass. If access is unsafe, ask an installer; do not remove a panel or adjust its supports to obtain a reading.
2. Measure the glass itself
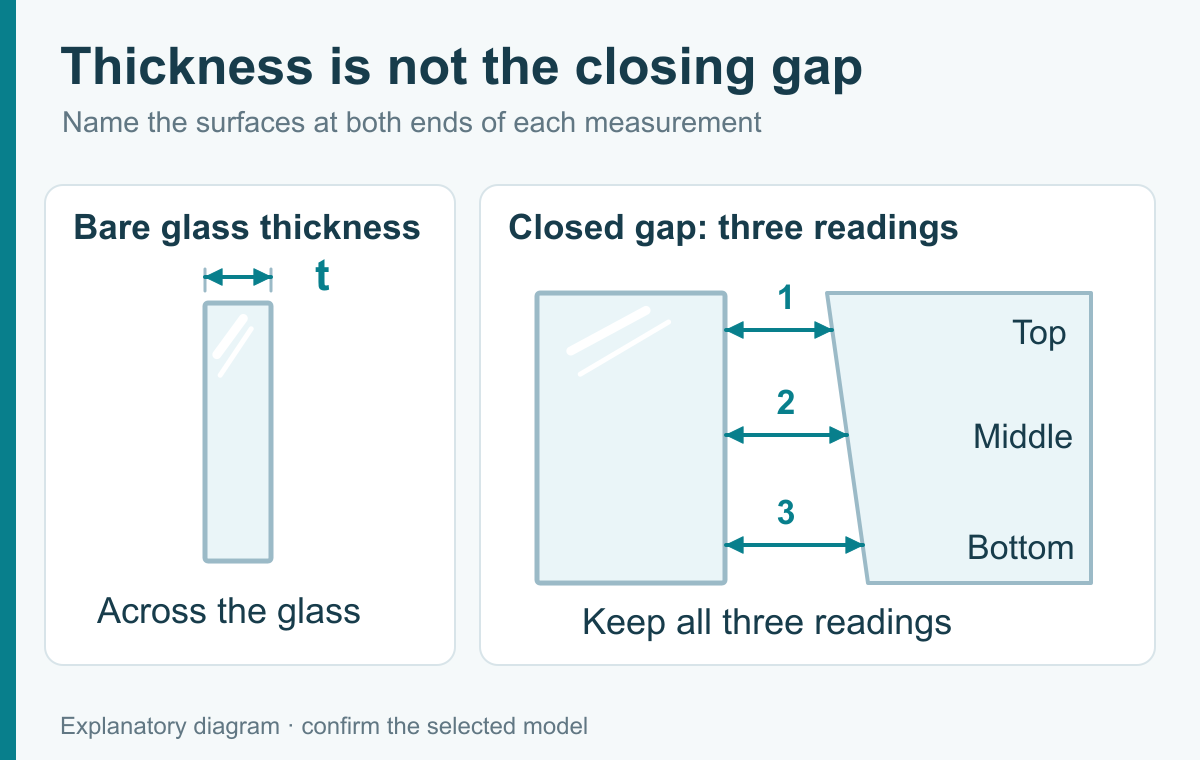
Measure the bare glass, not the outside of its plastic channel. If the edge is inaccessible, ask an installer about an optical glass-thickness gauge suitable for the pane.
Keep the original reading and units. These exact unit conversions use 1 inch = 25.4 mm.
| Inches | Exact millimetres |
|---|---|
| 1/4 in | 6.35 mm |
| 5/16 in | 7.9375 mm |
| 3/8 in | 9.525 mm |
| 1/2 in | 12.7 mm |
A conversion is not a fit approval: 3/8 inch is not exactly 10 mm. Check the selected seal’s stated glass range instead of treating nominal catalogue labels as interchangeable.

3. Take several gap readings
- Vertical closing edge: measure near the top, middle and bottom with the door normally closed.
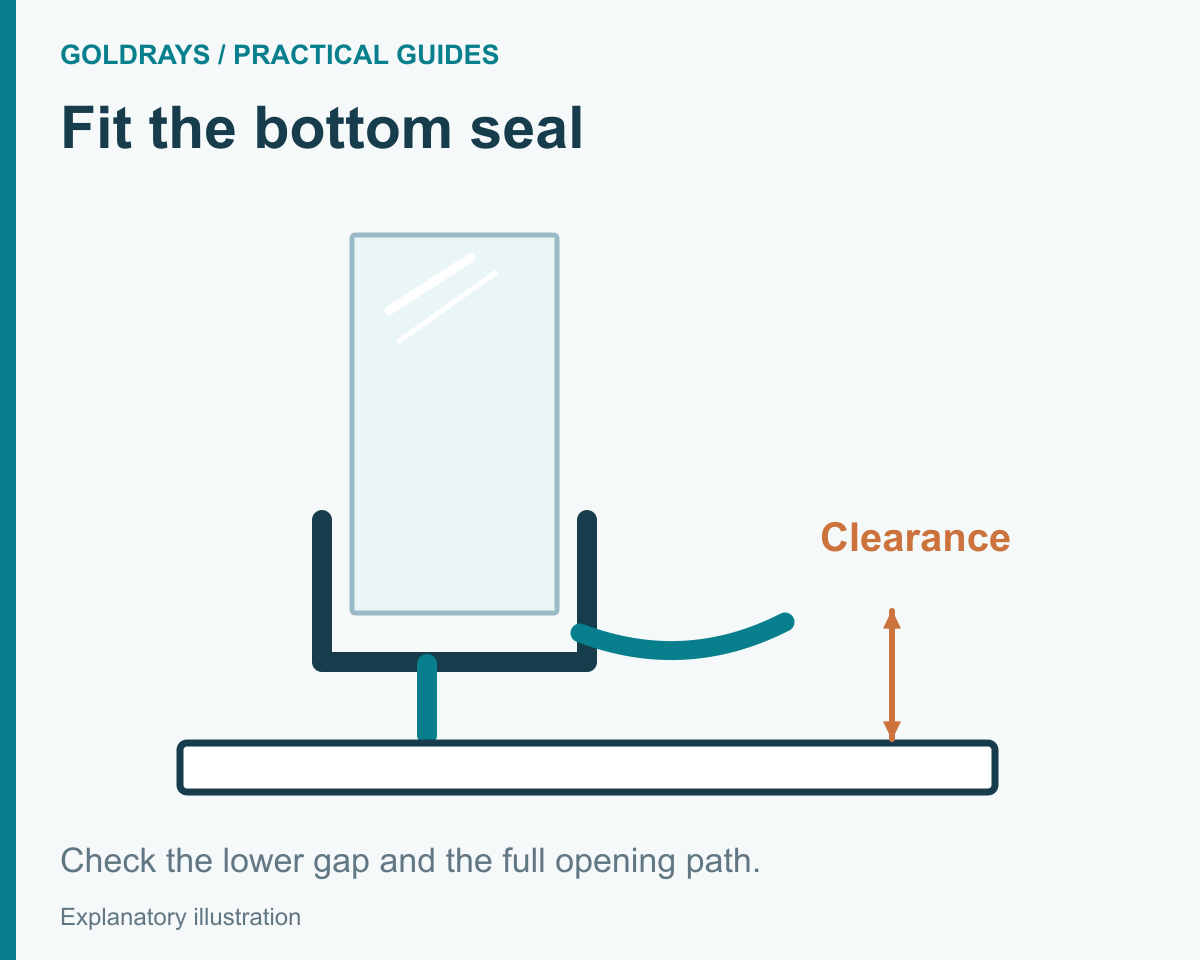
- Below the door: measure near both ends and the middle, from the lower glass edge to the relevant tray or threshold surface.
Name the endpoints: glass-to-glass, glass-to-frame or between existing profiles. Keep every reading rather than an average.
Separately record where the seal catches as the door moves. The CRL profile sheet gives clearances for specific sections and layouts, not one gap for every enclosure.
4. Measure the intended seal run
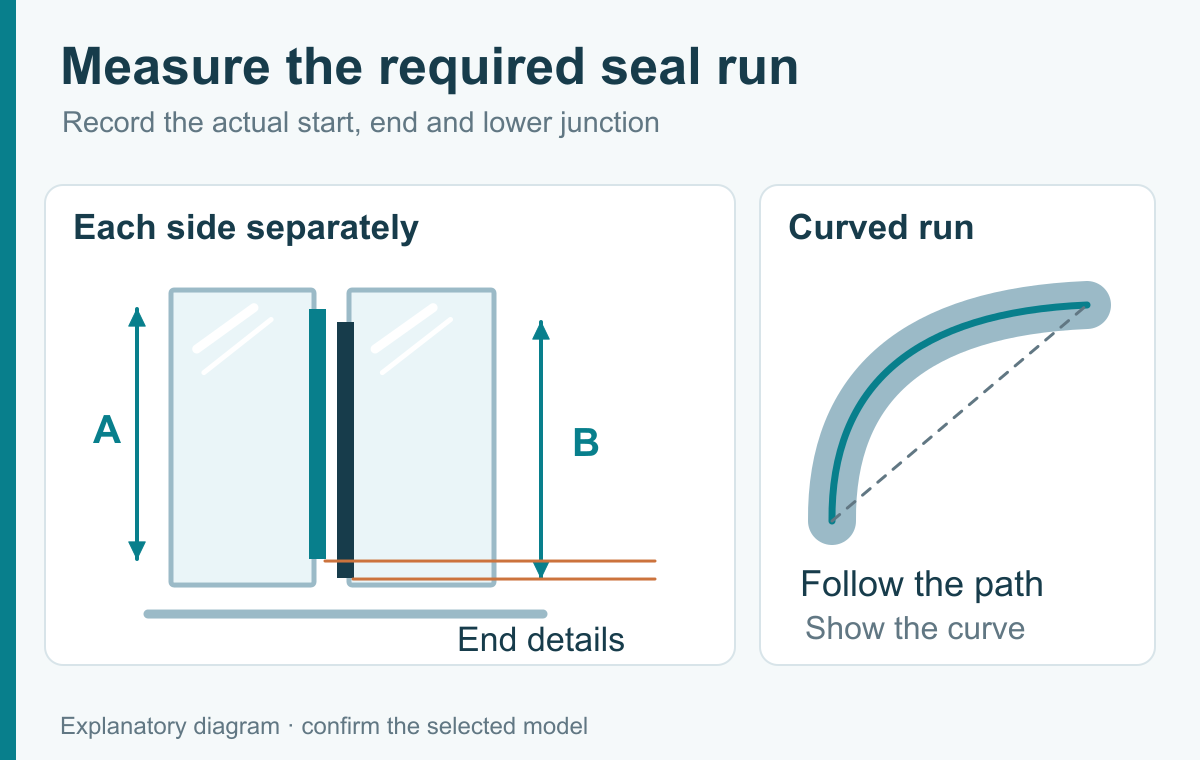
Mark the intended start and end points, including interruptions and adjoining parts. Record both magnetic sides independently and follow the selected system’s end-clearance instructions.
For a curved run, record the path and photograph the curve, rather than giving only the straight distance across it.
Common measurement questions
My reading is close to 8 mm. Should I round it?
Keep the reading and units. Recheck using the tool’s instructions; ask the supplier to confirm any uncertain fit.
Does “for 8 mm glass” specify an 8 mm gap?
No. Glass thickness and working gap are separate dimensions; the selected profile’s drawing must cover both.
Can I copy the old strip’s length?
Use it as a reference, then check the intended run: damaged or missing ends can mislead.
Send one clear record
Send measurements, photographs, attachment and old-seal status, plus a sketch of closed layout and opening direction.
For a single part, send this to the enclosure maker or local spare-parts retailer. GoldRays supplies trade bulk orders and can answer technical identification questions.
Use the selection guide to compare the measured setup with the proposed part.
Once the part is confirmed, follow the replacement guide and its model-specific instructions.
About the author
GoldRays technical team
The GoldRays technical team writes these guides at the GoldRays factory in Foshan, China, where clear PVC and polycarbonate shower door seals have been made since 2001. The team works with more than 40 production lines and more than 3,200 moulds for 4 to 15 mm glass, and answers trade questions about fit, materials and testing.
This post is also available in: