Guides to measuring, replacing, installing, cleaning and maintaining shower door seals and sweeps.

Magnetic Shower Door Seal Replacement: Check the Pair Before You Cut

Last updated: October 2026

Magnetic seal replacement

Record the old arrangement, trial-fit the replacement, then trim and check the finished closure.

This sequence is for a removable clip-on magnetic seal on a stable, undamaged glass door. Retained inserts and bonded strips need their own removal and fitting instructions.

See the six steps ↓
RecordTrial-fitTrim
Sequence illustration. Use the instructions for the exact pair supplied.

Watch the movement · step by step

Watch the magnetic fitting movement

Start one end, seat the channel progressively, then fit the matching side.

A CLIP-ON MAGNETIC PAIRGlass AGlass BFINISHED PAIRThe two mating facesSeat progressively. Keep each profile on its intended side.Original explanatory animation · schematic, not to scale

STEP 01 / 04

Engage the first end

Engage one end using the fixing method specified for your part.

Watch source: SIMBA SEALS · 0:25–0:34 ↗

0 / 24 sec

Based on SIMBA SEALS, 0:25–1:25. Follow the supplied part’s instructions for orientation, length and clearances. Removal, trimming and water testing are separate steps below.

Closed view + both end sections
Before removal: record both parts.
01

Photograph the old arrangement

Take a whole-door photo and an end view of each strip. Mark which side each belongs to. Record the enclosure model, glass thickness, closed gap and separate lengths.

If the door is loose, damaged or needs force to move, have it assessed before replacing the seal. Use the pairing guide if the replacement has not been identified.

Clean the exposed mounting surface
Removal method depends on the fixing.
02

Remove the old seal and clean

Use the removal method specified for the existing fixing. Keep both old sections until the job is finished. Do not lever a tool against the glass edge.

Clean and dry the exposed mounting surface with products approved for the glass, coating and replacement seal. Check the edge for damage before refitting.

Check full-height contact gently
Check contact and door movement together.
03

Trial-fit both halves

Where the supplied instructions permit a dry fit, seat the profiles in the specified positions without forcing them. Close the door gently and check that the magnetic faces meet along the working height.

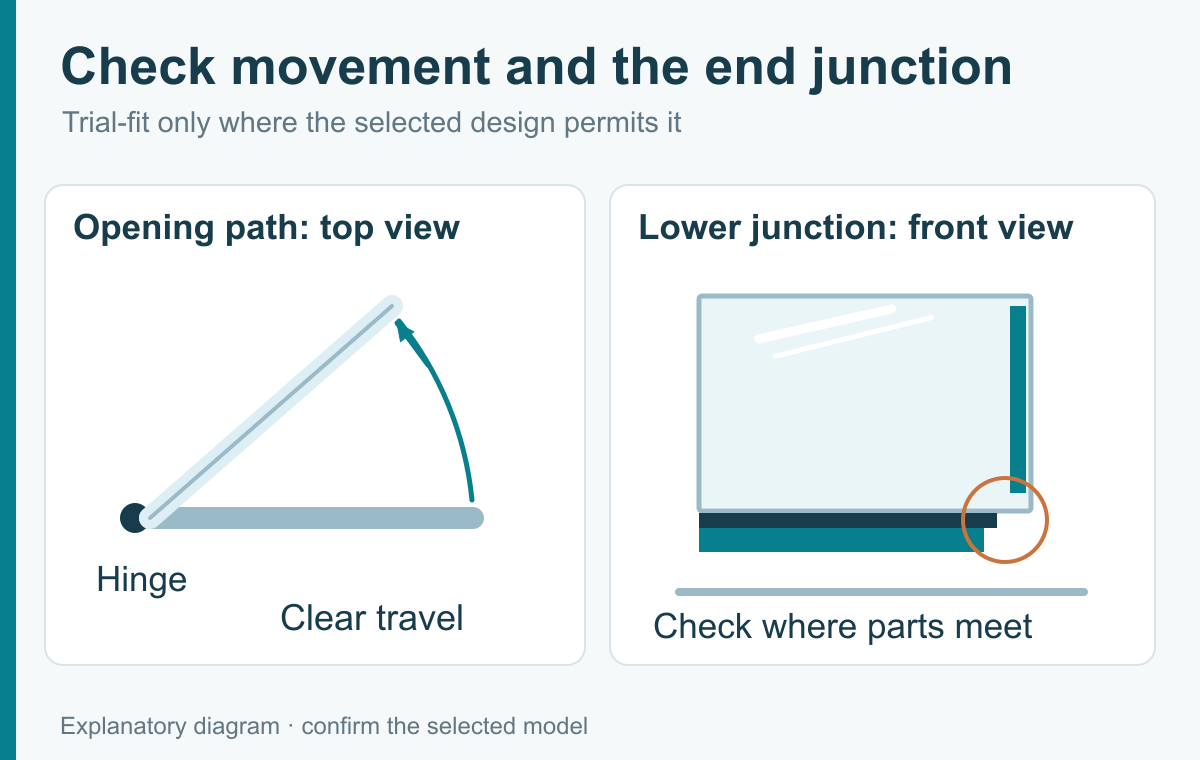
If an uncut strip would hit the tray or frame, stop and confirm its initial length with the supplier before trial-fitting. Check the intended opening movement and the bottom-seal junction.

Move the strips off the glassFollow the specified cut lengths
Mark separately; trim away from the glass.
04

Mark, remove and trim

Mark each strip’s finished length using the selected system’s end-clearance instructions. Remove it before cutting and support it on a work surface.

Use a tool approved for that profile and its magnet. There is no universal extra allowance or cutting method for every magnetic seal. Do not cut or notch the glass.

Watch the movement · step by step

Why the strip comes off before cutting

A separate bottom-seal example shows marking, removal, cutting and refitting.

BOTTOM-SEAL EXAMPLE · NOT A MAGNETIC CUTTING METHODWork surfaceMARK → REMOVEThe cut is madeoff the glass.Tool choice isproduct-specific.Original explanatory animation · schematic, not to scale

STEP 01 / 04

Mark the fitted length

The Uniblade video first fits the bottom strip and marks its finished length.

Watch source: Uniblade · 0:54–1:01 ↗

0 / 24 sec

Based on Inventive Creations’ Uniblade video, 0:54–1:22. The hacksaw shown is for that non-magnetic plastic strip; it is not a recommended tool for every magnetic seal.

Inspect the bottom junction
Pay attention to the lower junction.
05

Refit and check the ends

Refit as specified and confirm both strips are seated. Look for even magnetic contact, clear door movement and a lower end that does not collide with the sweep, tray or threshold.

If the supplied system requires bonding, follow its fixing and curing instructions before use.

12Joint and bottom: separate checks
Check the magnetic edge and bottom separately.
06

Check movement and water containment

Open and close the door through its intended travel without forcing it. Follow the enclosure maker’s water-check instructions.

If water still escapes, identify its first exit point. A bottom leak may need a different repair even when the magnetic joint closes correctly.

See the handling sequence on real glass

Watch Inventive Creations’ Uniblade demonstration →

This third-party video demonstrates a bottom seal, including fitting, marking and cutting off the glass. Its product design, tools and fit claims are not GoldRays magnetic-seal instructions.

Need to identify the part first? Compare GoldRays magnetic seal drawings. For a single spare, start with the enclosure maker or a spare-parts retailer; GoldRays supplies trade bulk orders.

Further reference and source limits

KOHLER 1548083-2-A illustrates magnetic alignment and the bottom junction for its own enclosure. Its dimensions and hardware adjustments are not universal.

Shower Seal UK’s cutting demonstration shows non-magnetic profile handling; confirm the correct cutting method for the magnetic product being fitted.

About the author

GoldRays technical team

The GoldRays technical team writes these guides at the GoldRays factory in Foshan, China, where clear PVC and polycarbonate shower door seals have been made since 2001. The team works with more than 40 production lines and more than 3,200 moulds for 4 to 15 mm glass, and answers trade questions about fit, materials and testing.
Ask the technical team

How to Remove Mould from Shower Door Seals

Last updated: October 2026

To remove mould from a shower door seal, take the seal off if it clips on, soak it in warm water with mild detergent, scrub gently with a soft toothbrush, and treat stubborn spots with diluted white vinegar or a mould spray labelled safe for plastics. Rinse and dry fully. If black spots remain inside the plastic or in the fold of the fin, the mould has penetrated and the seal should be replaced.

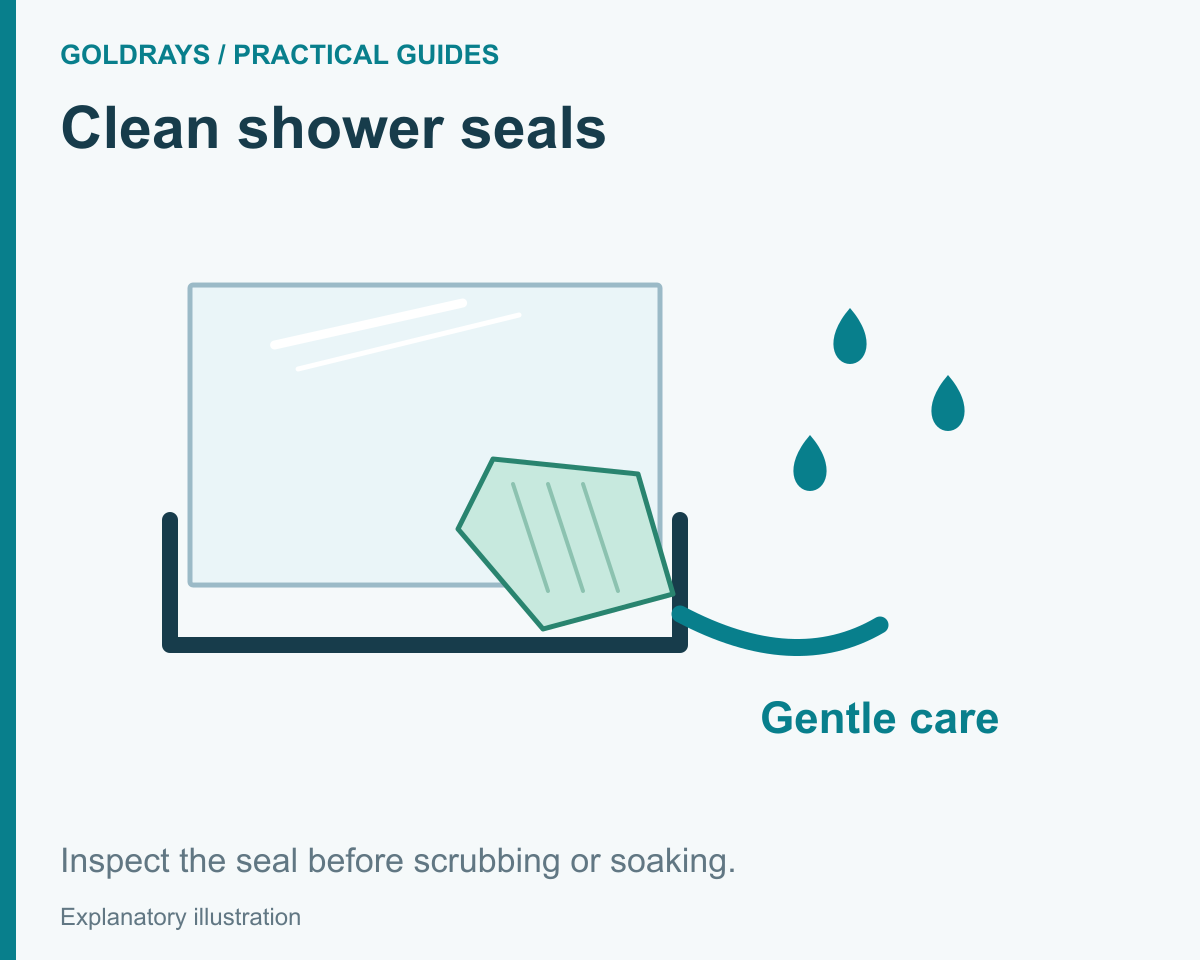
Gentle cleaning illustrated with a soft cloth, water and a shower seal.

Step by step

  1. Remove the seal if you can. Clip-on seals pull off the glass edge; this lets you clean the channel and fold where mould hides.
  2. Soak for 10 to 15 minutes in warm water with a little washing-up liquid.
  3. Scrub with a soft toothbrush, working into the fin fold and the channel.
  4. Treat stubborn spots with diluted white vinegar (about 1 part vinegar to 1 part water) for a few minutes, or a mould remover that says it is safe for plastics. Test on a small area first.
  5. Rinse thoroughly, dry completely, and refit.
  6. Clean the glass edge where the seal sits before refitting.

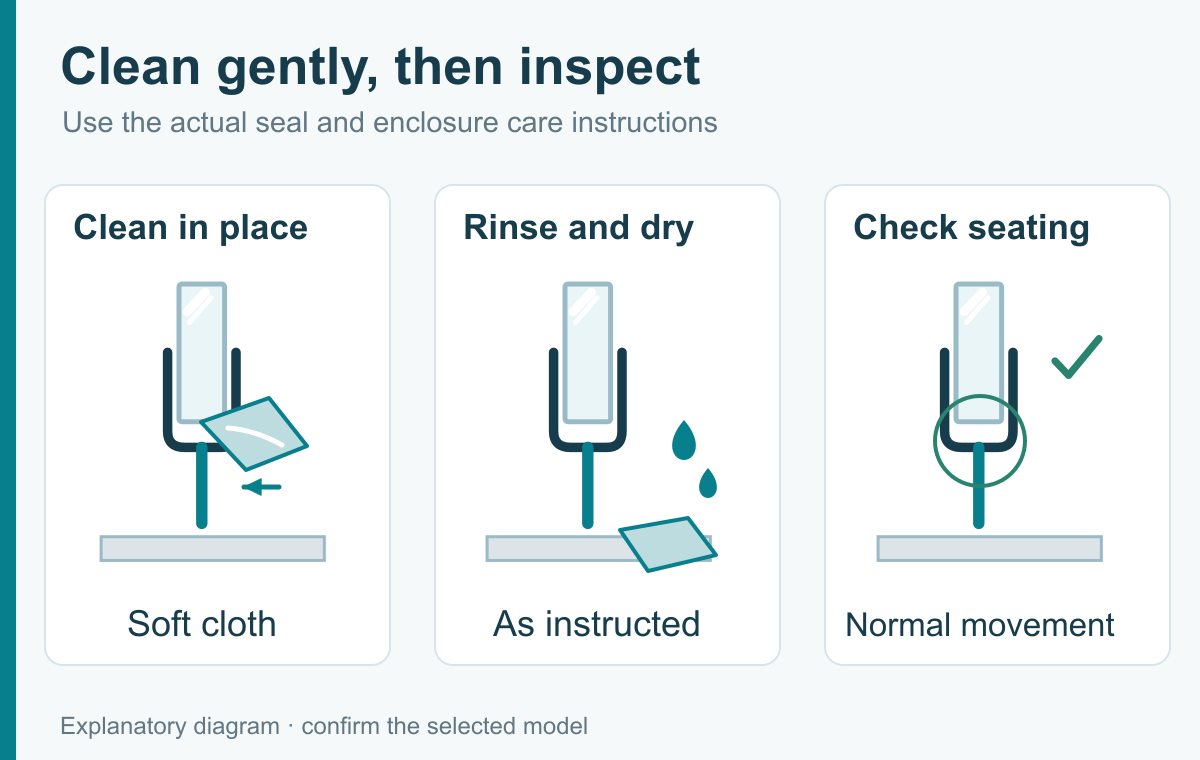
Clean gently using the approved method, then inspect seating and movement.

What to avoid

  • Undiluted bleach or chlorine cleaners: they can cloud and yellow clear seals and harden PVC.
  • Abrasive pads, scouring creams and wire brushes: they scratch the surface, giving mould more places to grow.
  • Solvents such as acetone or paint thinner: they attack the plastic.

When cleaning won’t work

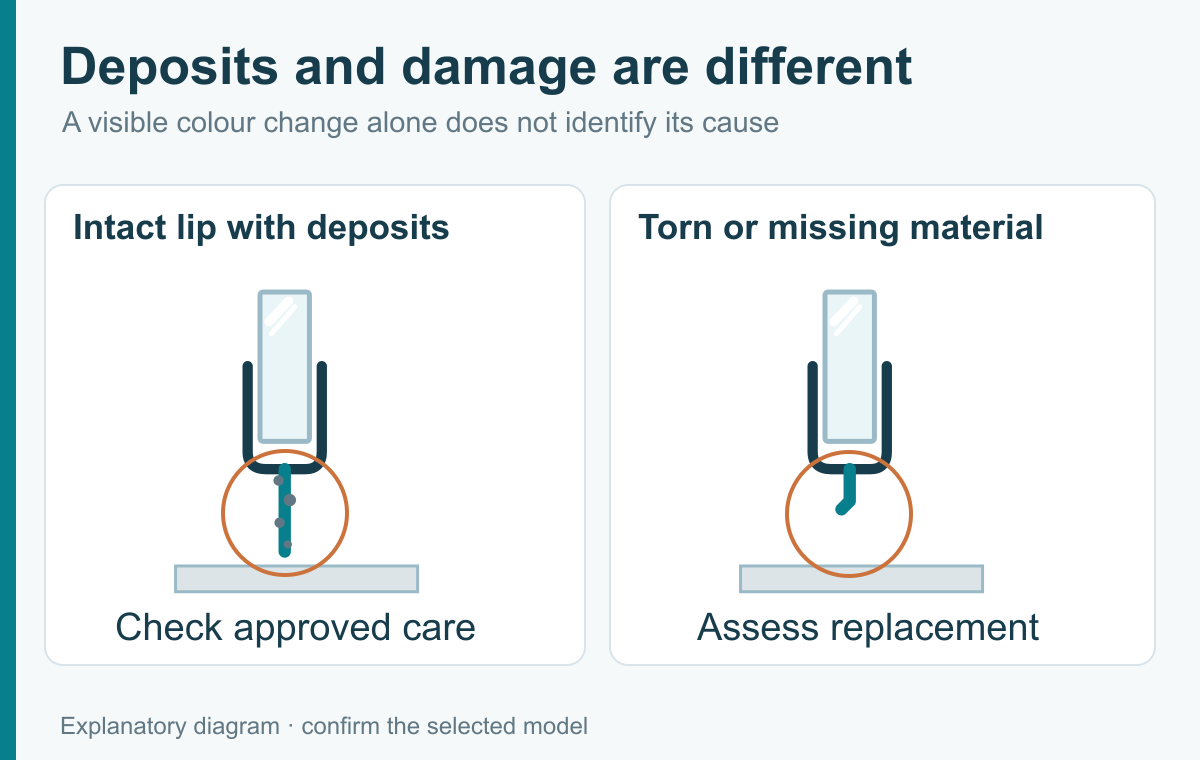
An intact lip with deposits compared with a physically torn lip.

Mould that has grown into the plastic shows as grey or black spots that don’t move however much you scrub. At that point the seal can’t be restored. Replacement seals are inexpensive; choose one with a mould-resistance test result (ASTM G21 or ISO 846). See how to replace a shower door seal.

Stopping mould coming back

  • Squeegee or wipe the glass and seal after showering.
  • Leave the door open and run the extractor fan for 15 to 20 minutes.
  • Clean seals weekly with mild soap before mould gets a hold.
  • Choose seals with antimicrobial protection. GoldRays SuperClear™ samples rated Grade 0 (no growth) in ASTM G21 and ISO 846 tests by SGS (see the results).

Frequently asked questions

Can I use bleach on shower door seals?

Avoid undiluted bleach. If you use a bleach-based spray, use it sparingly, rinse quickly, and expect it to shorten the life of clear seals.

Why does mould grow on my shower seal?

Soap residue, skin oils and moisture feed it, and the folds of the seal stay damp. Seals without antimicrobial additives give it an easy start.

Is black mould on a shower seal dangerous?

Mould can affect people with allergies or breathing conditions, so remove it promptly and keep the bathroom ventilated. If it’s inside the plastic, replace the seal.

About the author

GoldRays technical team

The GoldRays technical team writes these guides at the GoldRays factory in Foshan, China, where clear PVC and polycarbonate shower door seals have been made since 2001. The team works with more than 40 production lines and more than 3,200 moulds for 4 to 15 mm glass, and answers trade questions about fit, materials and testing.
Ask the technical team

Shower Door Sweeps: Clean, Check or Replace?

Last updated: October 2026

A shower door sweep is the sealing part below the door. If it is dirty, dragging or leaking, inspect the full length and both ends before choosing cleaning or replacement.

Read more

How to Measure for a Shower Door Seal: Thickness, Gap and Length

Last updated: October 2026

For a shower seal, record glass thickness, the relevant gap and the required length separately. A profile for 8 mm glass is not necessarily made to bridge an 8 mm gap.

Read more

How to Replace a Shower Door Seal

Last updated: October 2026

To replace a shower door seal, identify which seal it is, measure the glass thickness and gap, pull the old seal off, clean the edge, push the new seal on, trim it to length and test with water. Most clip-on seals take about 15 minutes and need only a tape measure, calipers and a fine-tooth saw or sharp cutter.

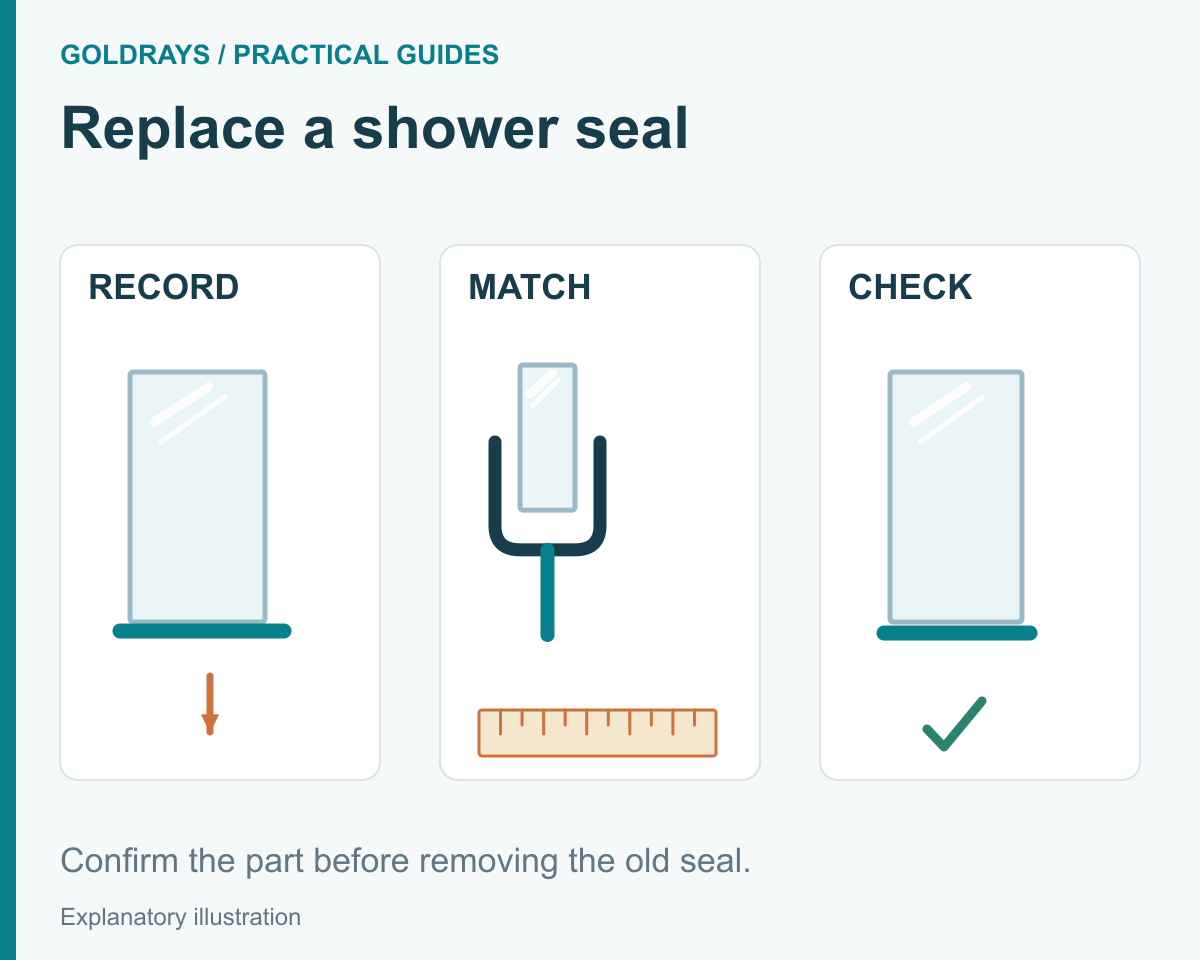
A sequence to record the original arrangement, match the part and check the replacement.

When to replace a shower door seal

Replace a seal when it shows one of these signs, not just because of its age:

  1. Water on the floor after a shower, in the same place each time.
  2. Splits or tears in the fin or bubble.
  3. Hard or brittle to the touch, so it no longer flexes against the glass or floor.
  4. Gaps: the seal no longer touches the surface it should close against.
  5. Yellowing or black mould that doesn’t clean off. Mould inside the fold can’t be reached by cleaning.

You’ll need

  • tape measure and calipers (or a fine ruler)
  • fine-tooth hacksaw or sharp utility knife
  • mild cleaner or diluted alcohol and a cloth
  • the replacement seal, slightly longer than the edge

Step 1: Identify the seal

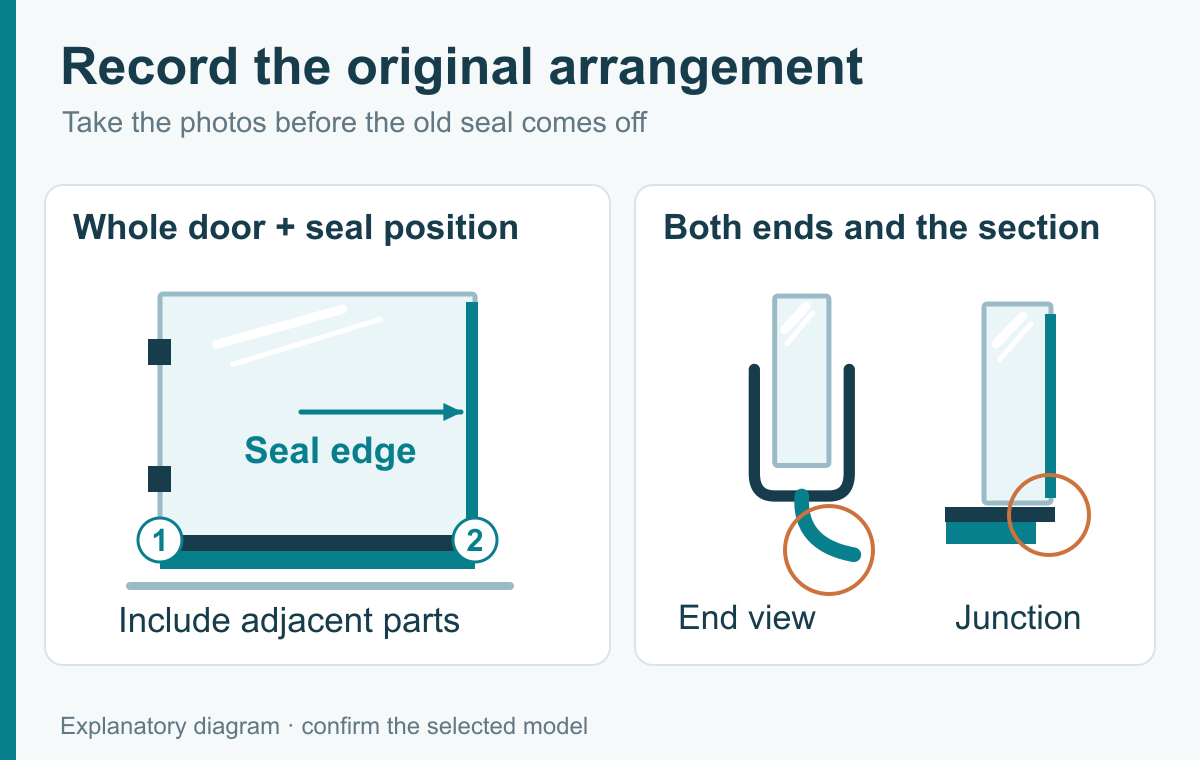
Record the whole door, seal position, end section and adjoining parts.

Note where it sits (bottom, hinge side, closing edge, between two panels) and how it’s fixed (clip-on, slid into a channel, self-adhesive). Photograph the end of the old seal next to a ruler; the cross-section is the best way to match it.

To find the exact model, compare the end-on shape with the drawings on our seal model pages, or filter by glass thickness in the seal finder. If you know the old part number from another brand, check our part number cross-reference.

Step 2: Measure

Measure the glass thickness at the edge and the gap the seal closes at both ends and the middle. For magnetic and glass-to-glass seals, note the angle (90°, 135° or 180°). Order by both thickness and gap; see the size chart.

Step 3: Remove the old seal

Pull clip-on seals straight off the glass edge, working from one end. Slide channel seals out sideways. For adhesive seals, peel slowly and remove adhesive residue with a plastic scraper.

Step 4: Clean the edge

Remove soap film, limescale and old adhesive, then let the glass dry. A clean edge lets the new seal grip evenly.

Step 5: Trial fit, then trim

Trial-fit the profile and check the opening path and end junction.

Push the new seal on loosely. Check that drip rails face into the shower and magnetic halves meet squarely when the door closes. Mark the length, remove the seal, and cut it square with a fine-tooth saw. Magnetic seals often contain a metal strip, so cut those with a hacksaw.

Step 6: Fit and test

Push the seal fully home along its length. Close the door, run the shower at the seal for a minute, and check the outside, especially the bottom corners.

Tips by seal type

  • Bottom seals: trim flush with the hinge edge, not short of it. See our bottom seal guide.
  • Magnetic seals: replace both halves together; magnets from different makers rarely match.
  • Curved screens: use a seal made for curved glass; straight profiles tend to lift at the ends.
  • Self-adhesive seals: fit at room temperature on dry glass, and don’t shower for 24 hours.

Frequently asked questions

Can I use a universal seal?

Universal seals fit a range of doors but rarely seal as well as one matched to your glass thickness and gap.

My replacement doesn’t fit. Why?

Usually the glass thickness is different from what was assumed, or the seal closes a different gap. Measure both again with calipers.

Where can I get a seal that’s no longer made?

A seal manufacturer can match it from a photo of the cross-section next to a ruler. GoldRays matches from more than 3,200 moulds; send a photo.

About the author

GoldRays technical team

The GoldRays technical team writes these guides at the GoldRays factory in Foshan, China, where clear PVC and polycarbonate shower door seals have been made since 2001. The team works with more than 40 production lines and more than 3,200 moulds for 4 to 15 mm glass, and answers trade questions about fit, materials and testing.
Ask the technical team

When Should You Replace a Shower Door Seal?

Last updated: October 2026

Replace a shower-door seal when damage or loss of function has been confirmed against the fit and enclosure condition. Age or yellowing alone does not establish failure.

Read more