Magnetic Shower Door Seal Replacement: Check the Pair Before You Cut
Last updated: October 2026
Magnetic seal replacement
Record the old arrangement, trial-fit the replacement, then trim and check the finished closure.
This sequence is for a removable clip-on magnetic seal on a stable, undamaged glass door. Retained inserts and bonded strips need their own removal and fitting instructions.
See the six steps ↓Watch the movement · step by step
Watch the magnetic fitting movement
Start one end, seat the channel progressively, then fit the matching side.
STEP 01 / 04
Engage the first end
Engage one end using the fixing method specified for your part.
Watch source: SIMBA SEALS · 0:25–0:34 ↗Based on SIMBA SEALS, 0:25–1:25. Follow the supplied part’s instructions for orientation, length and clearances. Removal, trimming and water testing are separate steps below.
Photograph the old arrangement
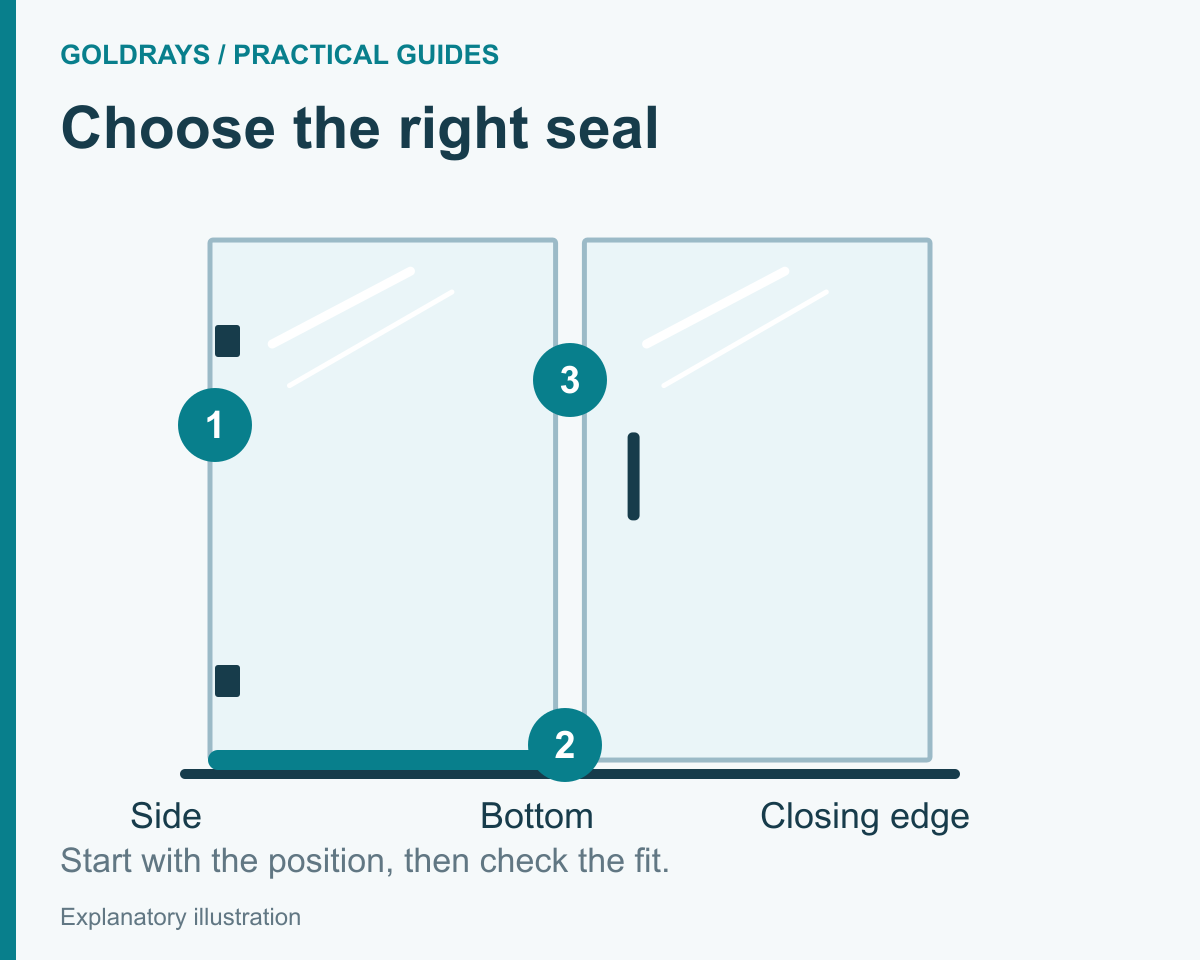
Take a whole-door photo and an end view of each strip. Mark which side each belongs to. Record the enclosure model, glass thickness, closed gap and separate lengths.
If the door is loose, damaged or needs force to move, have it assessed before replacing the seal. Use the pairing guide if the replacement has not been identified.
Remove the old seal and clean
Use the removal method specified for the existing fixing. Keep both old sections until the job is finished. Do not lever a tool against the glass edge.
Clean and dry the exposed mounting surface with products approved for the glass, coating and replacement seal. Check the edge for damage before refitting.
Trial-fit both halves
Where the supplied instructions permit a dry fit, seat the profiles in the specified positions without forcing them. Close the door gently and check that the magnetic faces meet along the working height.
If an uncut strip would hit the tray or frame, stop and confirm its initial length with the supplier before trial-fitting. Check the intended opening movement and the bottom-seal junction.
Mark, remove and trim
Mark each strip’s finished length using the selected system’s end-clearance instructions. Remove it before cutting and support it on a work surface.
Use a tool approved for that profile and its magnet. There is no universal extra allowance or cutting method for every magnetic seal. Do not cut or notch the glass.
Watch the movement · step by step
Why the strip comes off before cutting
A separate bottom-seal example shows marking, removal, cutting and refitting.
STEP 01 / 04
Mark the fitted length
The Uniblade video first fits the bottom strip and marks its finished length.
Watch source: Uniblade · 0:54–1:01 ↗Based on Inventive Creations’ Uniblade video, 0:54–1:22. The hacksaw shown is for that non-magnetic plastic strip; it is not a recommended tool for every magnetic seal.
Refit and check the ends
Refit as specified and confirm both strips are seated. Look for even magnetic contact, clear door movement and a lower end that does not collide with the sweep, tray or threshold.
If the supplied system requires bonding, follow its fixing and curing instructions before use.
Check movement and water containment
Open and close the door through its intended travel without forcing it. Follow the enclosure maker’s water-check instructions.
If water still escapes, identify its first exit point. A bottom leak may need a different repair even when the magnetic joint closes correctly.
See the handling sequence on real glass
Watch Inventive Creations’ Uniblade demonstration →
This third-party video demonstrates a bottom seal, including fitting, marking and cutting off the glass. Its product design, tools and fit claims are not GoldRays magnetic-seal instructions.
Need to identify the part first? Compare GoldRays magnetic seal drawings. For a single spare, start with the enclosure maker or a spare-parts retailer; GoldRays supplies trade bulk orders.
Further reference and source limits
KOHLER 1548083-2-A illustrates magnetic alignment and the bottom junction for its own enclosure. Its dimensions and hardware adjustments are not universal.
Shower Seal UK’s cutting demonstration shows non-magnetic profile handling; confirm the correct cutting method for the magnetic product being fitted.
About the author
GoldRays technical team
The GoldRays technical team writes these guides at the GoldRays factory in Foshan, China, where clear PVC and polycarbonate shower door seals have been made since 2001. The team works with more than 40 production lines and more than 3,200 moulds for 4 to 15 mm glass, and answers trade questions about fit, materials and testing.
This post is also available in: