How to Measure for a Shower Door Seal: Thickness, Gap and Length

Last updated: October 2026

For a shower seal, record glass thickness, the relevant gap and the required length separately. A profile for 8 mm glass is not necessarily made to bridge an 8 mm gap.

Read more

How to Replace a Shower Door Seal

Last updated: October 2026

To replace a shower door seal, identify which seal it is, measure the glass thickness and gap, pull the old seal off, clean the edge, push the new seal on, trim it to length and test with water. Most clip-on seals take about 15 minutes and need only a tape measure, calipers and a fine-tooth saw or sharp cutter.

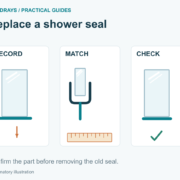
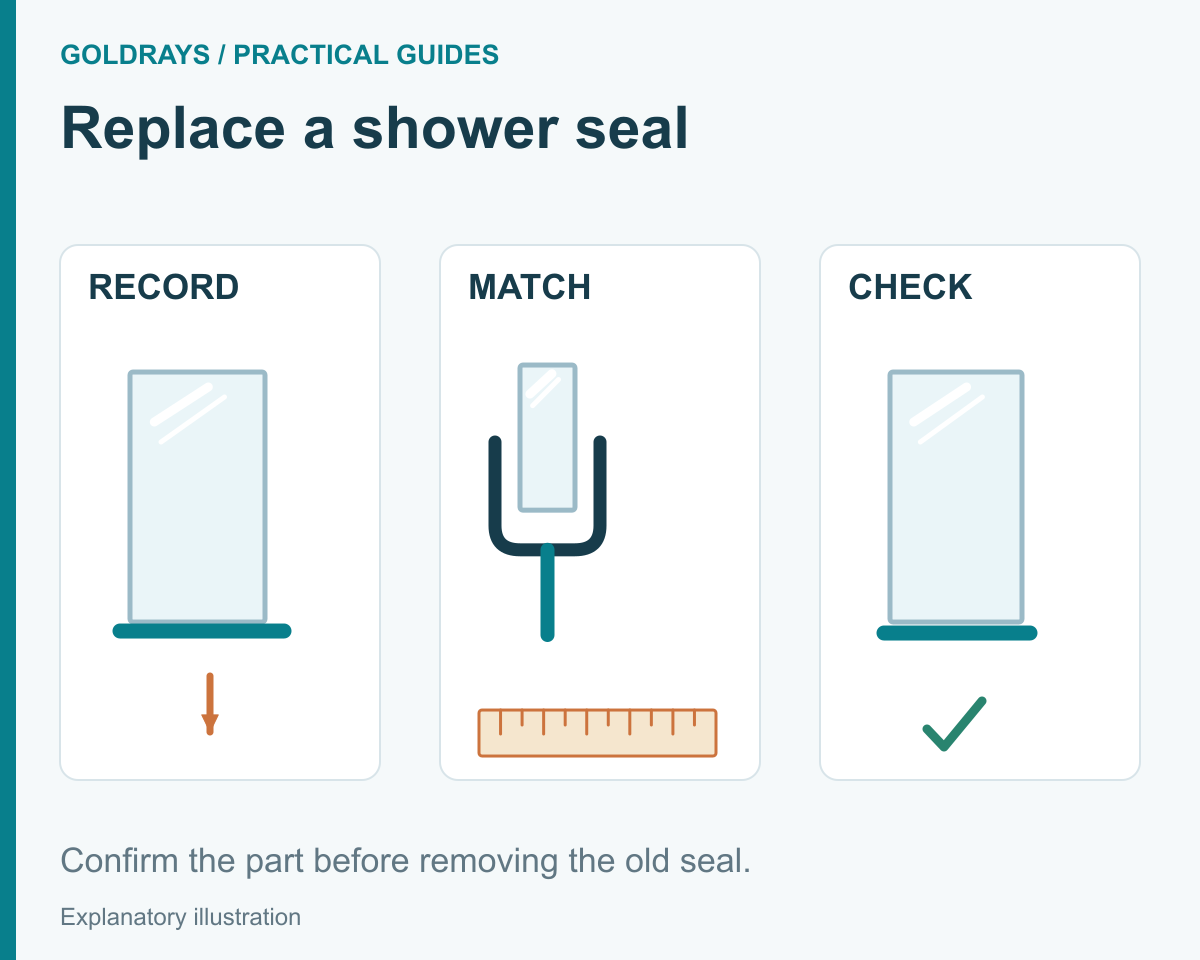
A sequence to record the original arrangement, match the part and check the replacement.

When to replace a shower door seal

Replace a seal when it shows one of these signs, not just because of its age:

  1. Water on the floor after a shower, in the same place each time.
  2. Splits or tears in the fin or bubble.
  3. Hard or brittle to the touch, so it no longer flexes against the glass or floor.
  4. Gaps: the seal no longer touches the surface it should close against.
  5. Yellowing or black mould that doesn’t clean off. Mould inside the fold can’t be reached by cleaning.

You’ll need

  • tape measure and calipers (or a fine ruler)
  • fine-tooth hacksaw or sharp utility knife
  • mild cleaner or diluted alcohol and a cloth
  • the replacement seal, slightly longer than the edge

Step 1: Identify the seal

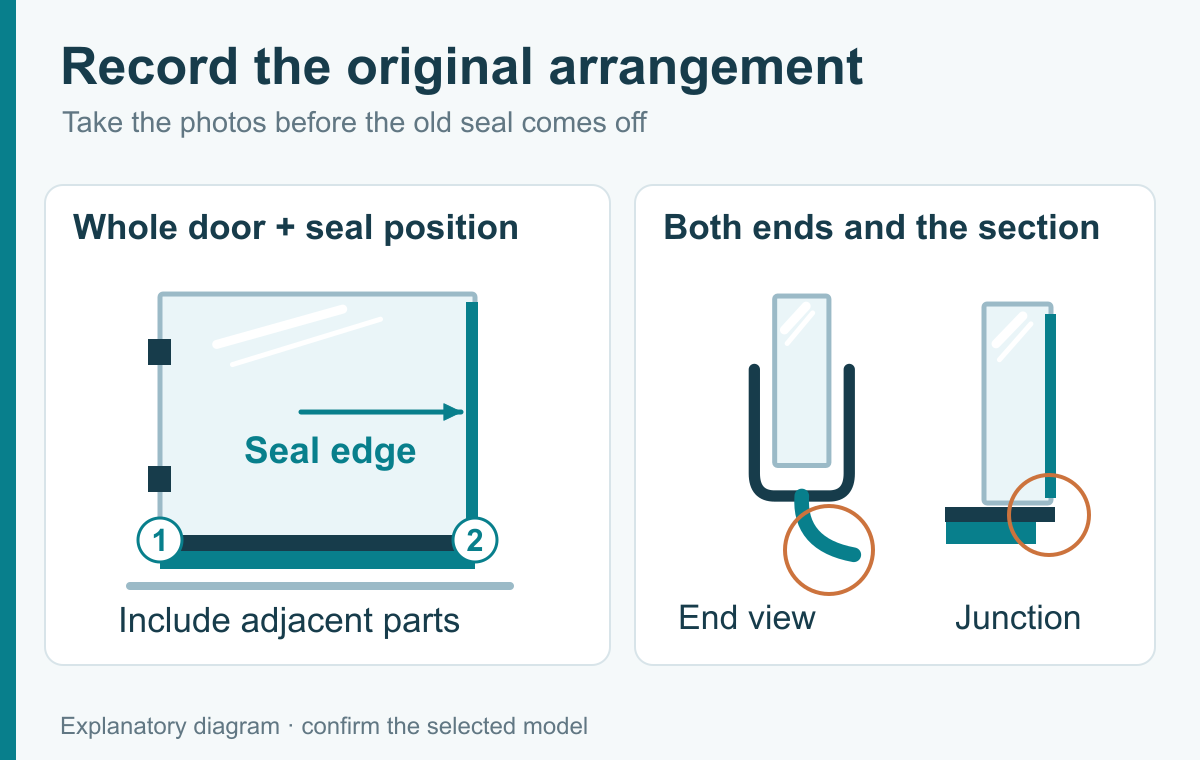
Record the whole door, seal position, end section and adjoining parts.

Note where it sits (bottom, hinge side, closing edge, between two panels) and how it’s fixed (clip-on, slid into a channel, self-adhesive). Photograph the end of the old seal next to a ruler; the cross-section is the best way to match it.

Step 2: Measure

Measure the glass thickness at the edge and the gap the seal closes at both ends and the middle. For magnetic and glass-to-glass seals, note the angle (90°, 135° or 180°). Order by both thickness and gap; see the size chart.

Step 3: Remove the old seal

Pull clip-on seals straight off the glass edge, working from one end. Slide channel seals out sideways. For adhesive seals, peel slowly and remove adhesive residue with a plastic scraper.

Step 4: Clean the edge

Remove soap film, limescale and old adhesive, then let the glass dry. A clean edge lets the new seal grip evenly.

Step 5: Trial fit, then trim

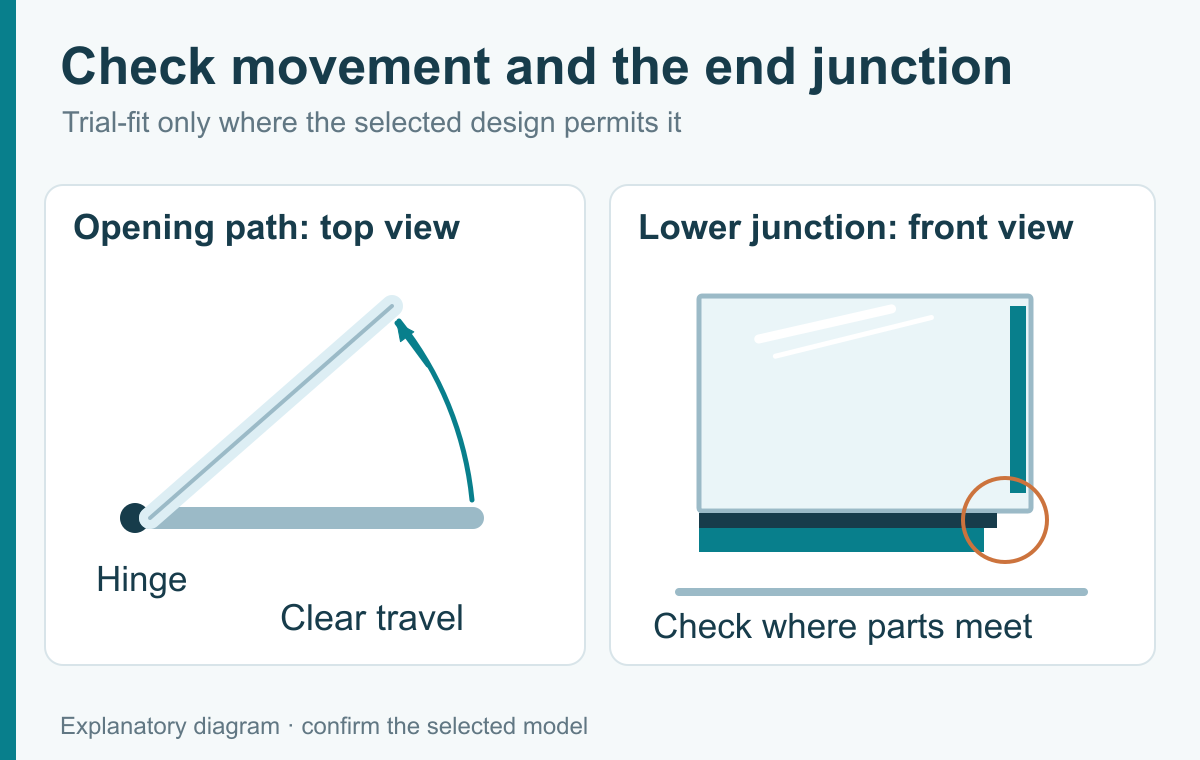
Trial-fit the profile and check the opening path and end junction.

Push the new seal on loosely. Check that drip rails face into the shower and magnetic halves meet squarely when the door closes. Mark the length, remove the seal, and cut it square with a fine-tooth saw. Magnetic seals often contain a metal strip, so cut those with a hacksaw.

Step 6: Fit and test

Push the seal fully home along its length. Close the door, run the shower at the seal for a minute, and check the outside, especially the bottom corners.

Tips by seal type

  • Bottom seals: trim flush with the hinge edge, not short of it. See our bottom seal guide.
  • Magnetic seals: replace both halves together; magnets from different makers rarely match.
  • Curved screens: use a seal made for curved glass; straight profiles tend to lift at the ends.
  • Self-adhesive seals: fit at room temperature on dry glass, and don’t shower for 24 hours.

Frequently asked questions

Can I use a universal seal?

Universal seals fit a range of doors but rarely seal as well as one matched to your glass thickness and gap.

My replacement doesn’t fit. Why?

Usually the glass thickness is different from what was assumed, or the seal closes a different gap. Measure both again with calipers.

Where can I get a seal that’s no longer made?

A seal manufacturer can match it from a photo of the cross-section next to a ruler. GoldRays matches from more than 3,200 moulds; send a photo.

About the author

GoldRays technical team

The GoldRays technical team writes these guides at the GoldRays factory in Foshan, China, where clear PVC and polycarbonate shower door seals have been made since 2001. The team works with more than 40 production lines and more than 3,200 moulds for 4 to 15 mm glass, and answers trade questions about fit, materials and testing.

Ask the technical team

When Should You Replace a Shower Door Seal?

Last updated: October 2026

Replace a shower-door seal when damage or loss of function has been confirmed against the fit and enclosure condition. Age or yellowing alone does not establish failure.

Read more

Shower Door Seal Glossary: Sweeps, Wipes, Lips and Jambs

Last updated: October 2026

Shower door seals go by many names: sweep, wipe, drip rail, lip seal, bubble seal, h-jamb, magnetic seal, glass-to-glass connector. This glossary explains each one so you can name the part you need. The name alone is never enough to order, though: add where the seal sits, the glass thickness and the gap, because different suppliers use the same word for different parts.

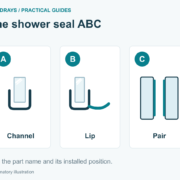
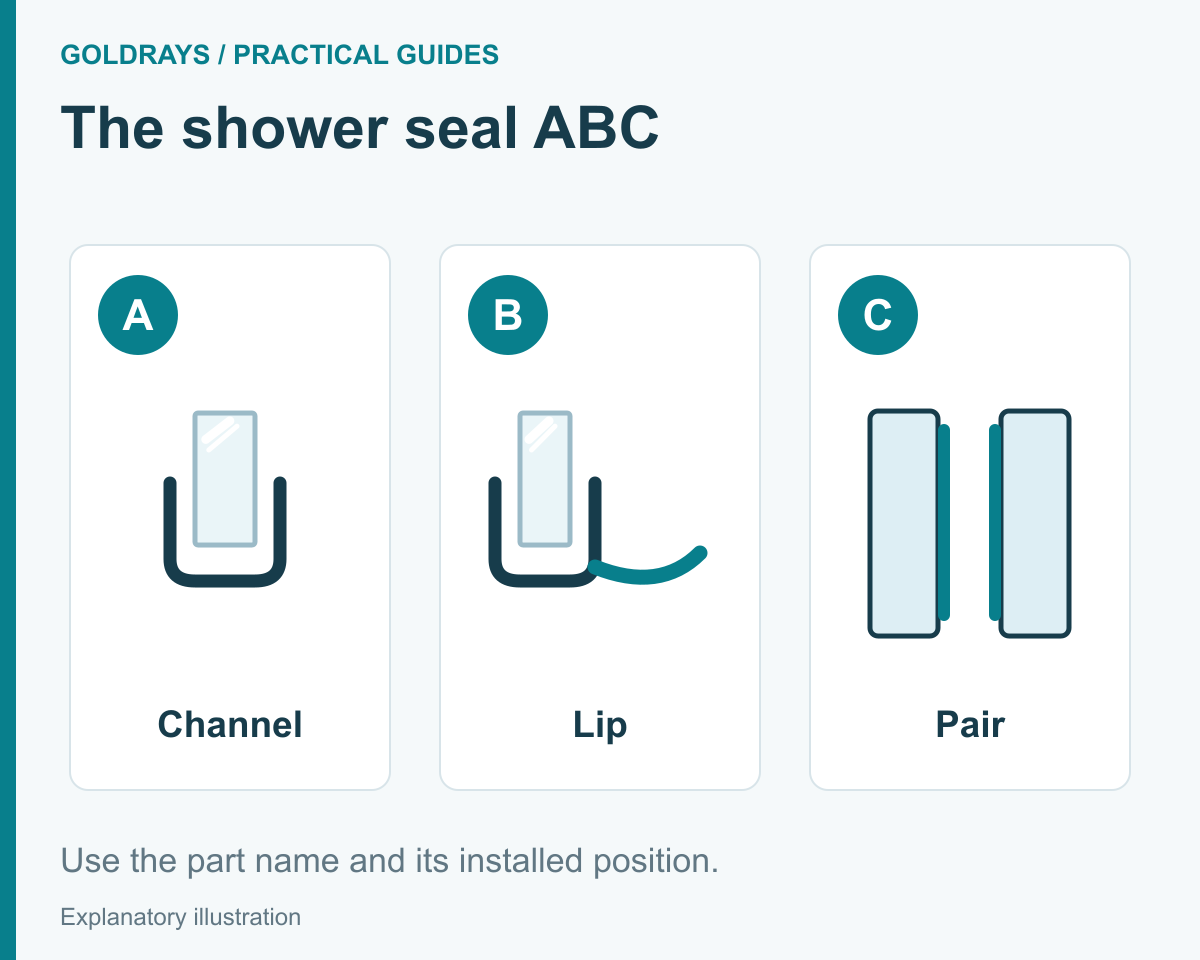
Examples of a channel, flexible lip and magnetic pair used in shower-seal terminology.

A to Z

Term What it means
Bubble (bulb) seal A seal with a hollow, round section that squashes to close a gap; copes with uneven gaps
Closing edge The edge of the door that meets a panel or wall when shut
Cross-section (profile) The end-on shape of a seal; the most reliable way to identify it
Drip rail (deflector) An angled section on the inside face of the door’s lower edge that turns runoff back into the shower
Fin (lip) The thin flexible part of a seal that touches the opposite surface
Gasket / glazing seal A seal between glass and a frame or other component
Glass-to-glass connector A seal joining two glass panels, at 90°, 135° or 180°
H-jamb A wall or jamb profile with an H-shaped section; the glass sits in one side
Hinge-side seal A seal on the edge next to the hinge or pivot
Magnetic seal A pair of strips with magnets that pull the door closed; sold and replaced as a pair
Push-on channel The U-shaped part of a seal that grips the glass
Rail insert A seal pushed into a channel in an aluminium frame, not onto glass
Sealant (silicone) A paste that cures in fixed joints; not a removable seal
Sweep A fin along the bottom of a moving door that brushes the floor or tray
Threshold (dam) strip A strip fixed to the floor or tray under the door
Wipe Another name for a sweep or side seal: a sealing part, not a cleaning cloth

Name the part by where it sits

Nicknames vary by country and by supplier. “Wipe” in one catalogue is “sweep” in another, and a “U seal” or “H seal” describes only the rough shape. Position is what tells a supplier what you need:

  • Bottom: sweeps, drip rails, bubble seals under a moving door.
  • Vertical edges: hinge-side seals, lip seals and closing seals.
  • Inside a metal rail: rail inserts and glazing seals.
  • Closing edge, pulled shut: magnetic pairs.

Similar names do not make parts interchangeable. DreamLine’s glossary distinguishes several of these functions, but one brand’s name doesn’t establish another’s equivalent.

Door seals are not plumbing seals

A gasket here seals an enclosure joint. It is not a tap washer or O-ring. Never use a door-seal offcut in a hose or valve connection; match plumbing parts to the fixture maker’s drawing.

Keep the measurements separate

  • Glass thickness: the thickness of the pane the seal grips.
  • Gap: the space the seal must close. A seal “for 8 mm glass” says nothing about the gap.
  • Length: the run along the edge.
  • Closed angle: the angle between panels when the door is shut (90°, 135°, 180°), not the angle the door opens. Pauli + Sohn’s profile range illustrates the distinctions.

Piece, pair or set?

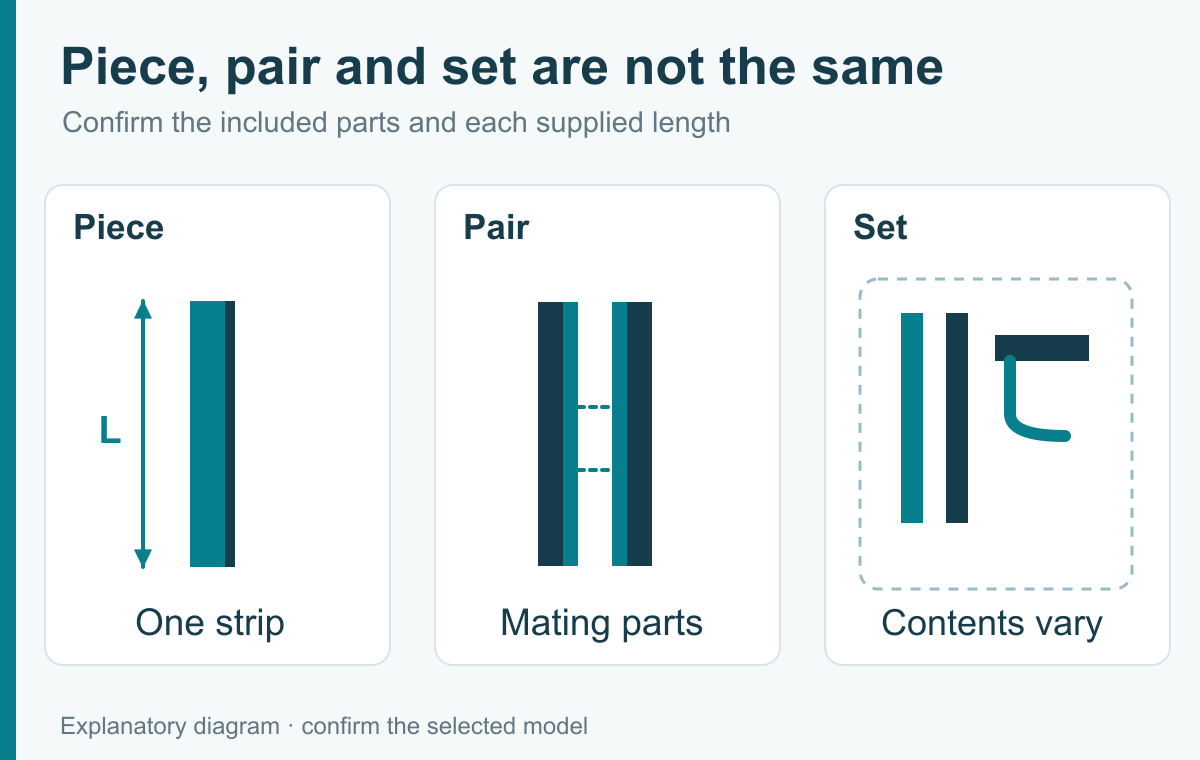
Piece, pair and set are different ways to describe supplied quantities

A piece is one length. A pair is two mating parts, as with magnetic seals; Bohle lists BO5213515 as one pair. A set depends on what the seller includes. Check the length of each piece and what is in the pack before comparing prices.

Four photos that identify any seal

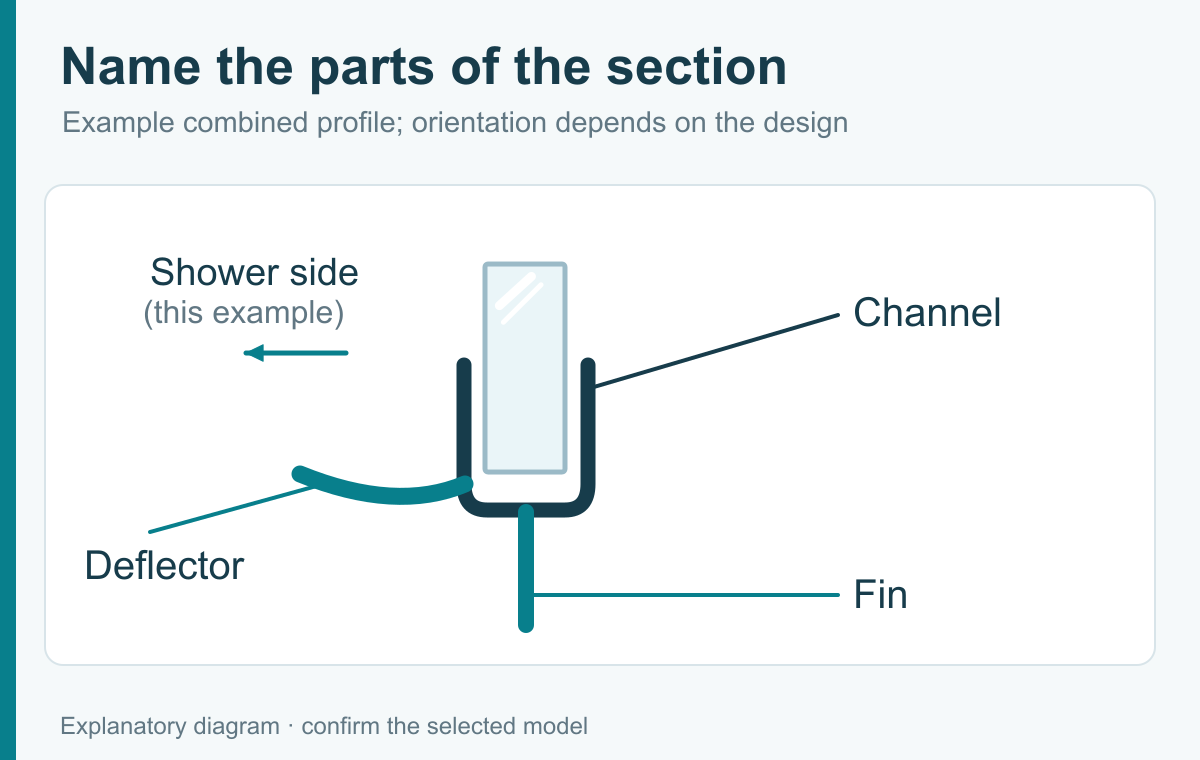
A profile end view identifies the channel, fin and deflector

  1. The whole enclosure.
  2. The seal in place on the door.
  3. The cut end of the seal, straight on, next to a ruler.
  4. A close-up of where it leaks.

A close-up on its own hides how the seal is installed. Add one sentence on how the door moves and the measurements above, for example: “Bottom seal for an outward-opening door; 8 mm glass, 6 mm gap, 900 mm long.” Our measuring guide shows how.

Trade buyers: send photos or an old sample and GoldRays will identify and match the profile. Contact us.

Frequently asked questions

What is a shower door wipe?

A sealing strip, usually a flexible fin along the bottom or side of the door. It is not a cleaning cloth.

Is a sweep the same as a drip rail?

No. A sweep closes the gap under the door; a drip rail turns water running down the glass back inside. Many bottom seals combine both.

What is an h-jamb on a shower door?

A wall profile with an H-shaped cross-section. One side fits over the glass, and the other side faces the wall or holds a seal.

About the author

GoldRays technical team

The GoldRays technical team writes these guides at the GoldRays factory in Foshan, China, where clear PVC and polycarbonate shower door seals have been made since 2001. The team works with more than 40 production lines and more than 3,200 moulds for 4 to 15 mm glass, and answers trade questions about fit, materials and testing.

Ask the technical team