Magnetic Shower Seals: A Practical Buyer’s Guide
Last updated: October 2026
Magnetic shower seals
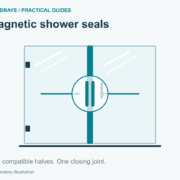
A magnetic closure depends on two matching faces meeting along the door. Check the pair, its position and the door’s movement before ordering.
Compare the arrangements ↓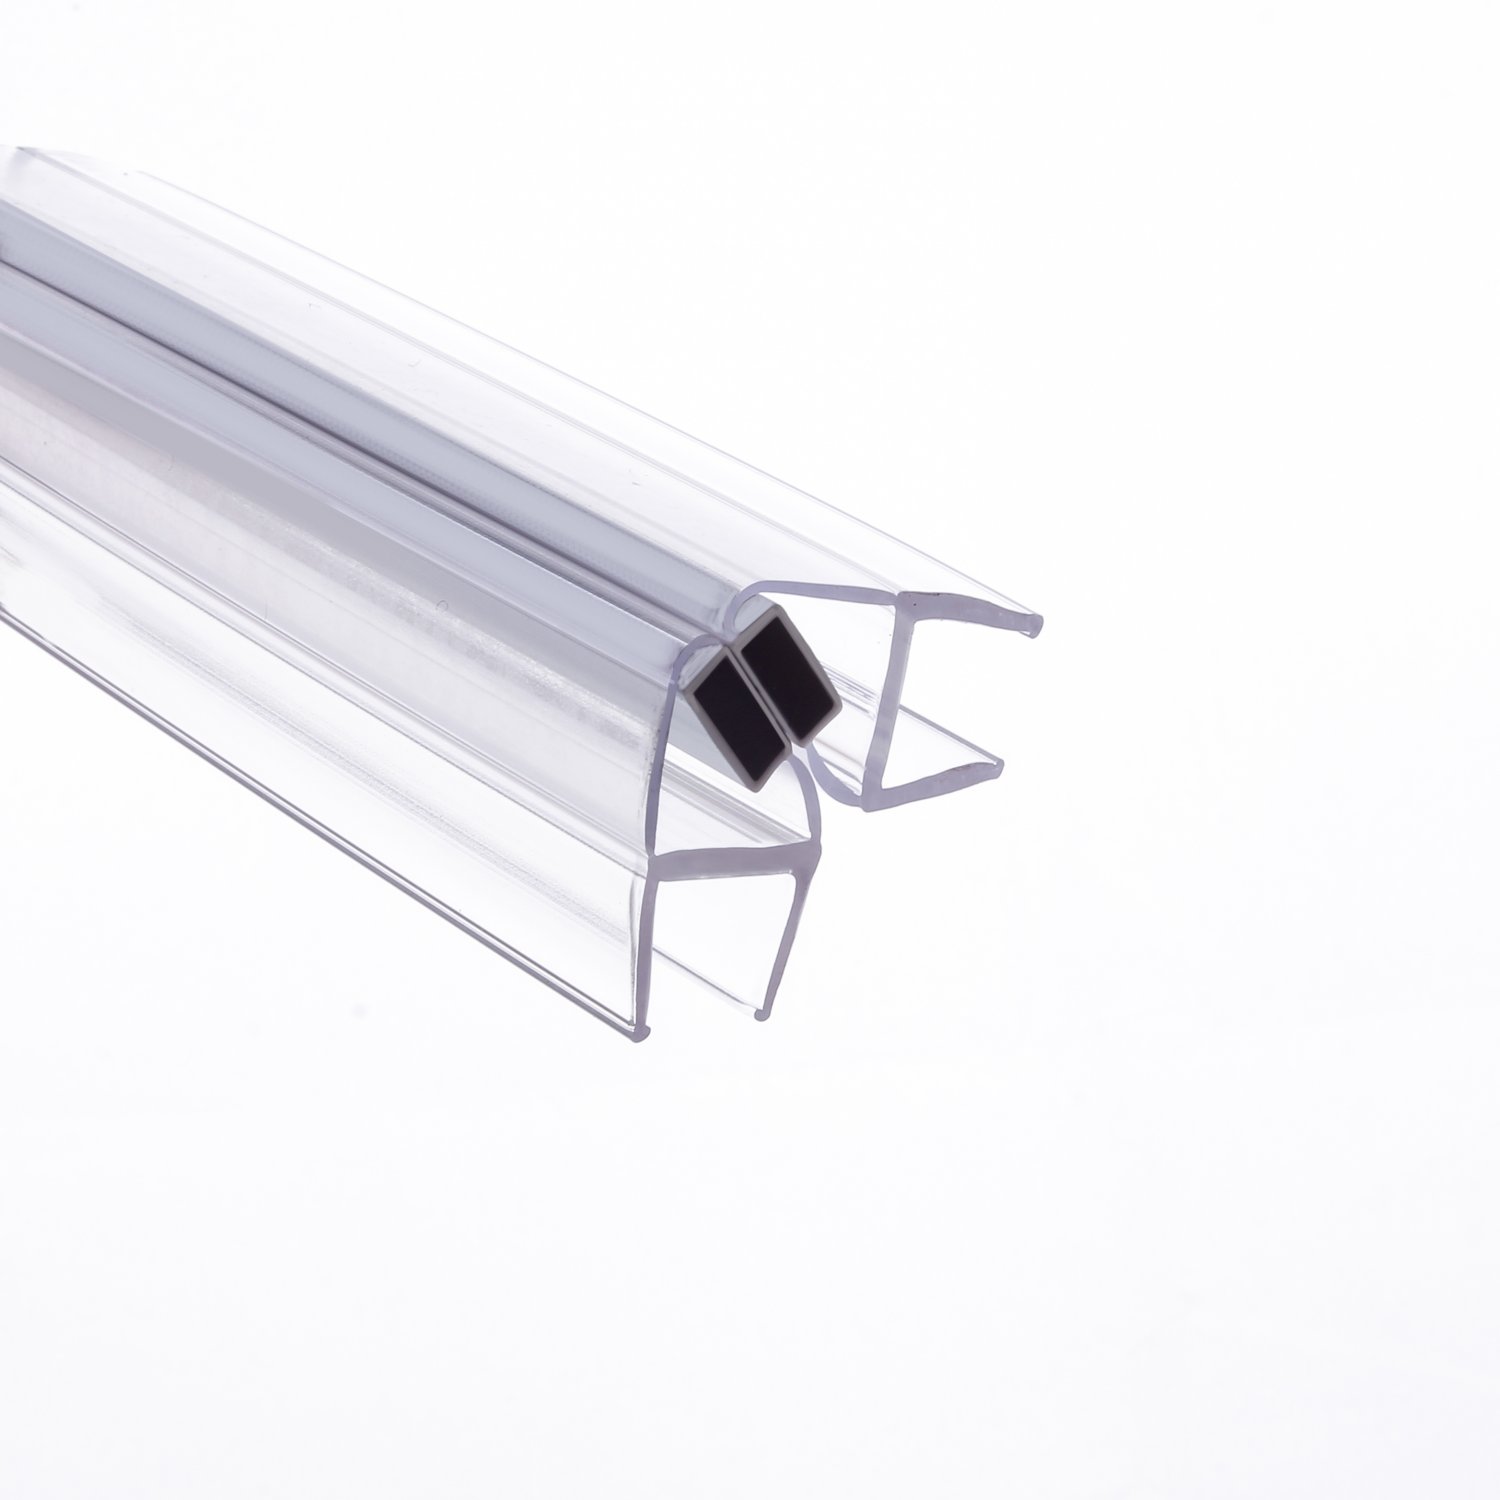
Watch the movement · step by step
Two sides. One matched pair.
See the first profile seat, then the other. The inset makes the mating faces easier to see.
STEP 01 / 04
Start with one end
Engage one end first, as shown in the source video.
Watch source: SIMBA SEALS · 0:25–0:34 ↗Based on SIMBA SEALS’ magnetic fitting demonstration, 0:25–1:25. Generic clip-on profiles are drawn; this is not an S008A1W-specific installation test.
01 · Show how the door closes
Which arrangement looks like yours?
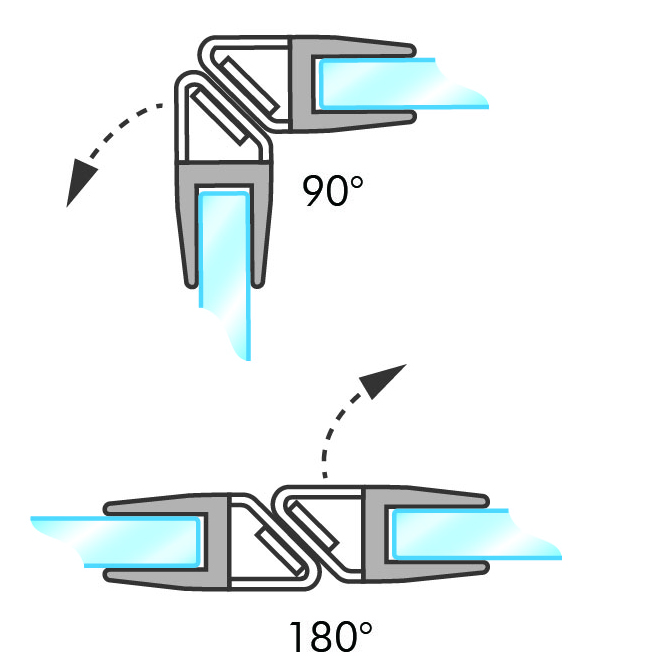
Straight or right-angle
The S008A1W drawing illustrates 180° and 90° arrangements. Its published glass options are 6, 8 and 10 mm.
View this example →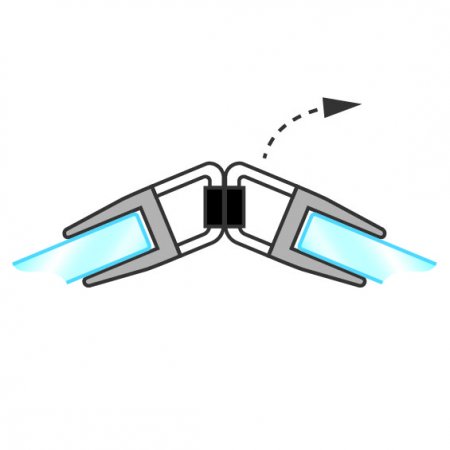
Angled meeting edges
The 008C1 reference shows a 135° closure. Compare the two sections and the movement shown in the drawing.
View this example →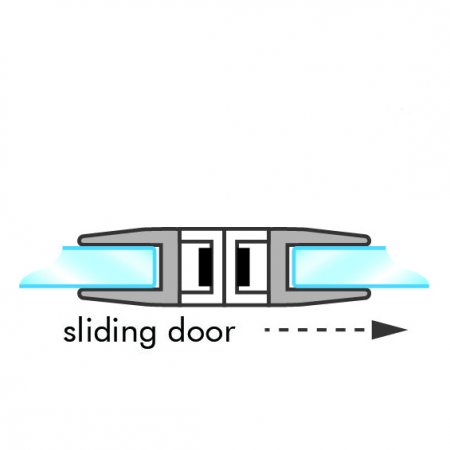
Sliding closure
The 008B reference illustrates a sliding arrangement. Identify the moving panel and the opposing part.
View this example →These are reference examples, not automatic replacements. Angle labels must be read with the supplier’s drawing; they do not describe every permitted door movement.
02 · Observe the existing joint
What happens when you close the door?
The faces meet evenly
Keep a record of both original parts and their orientation. If a strip is damaged, use that information to identify the replacement.
Only one end meets
Check profile seating and record the changing gap. Door alignment may need an installer’s attention; a stronger magnet does not correct the geometry.
They repel or spring apart
Confirm the part codes and orientation, then look for interference at the bottom. Do not reverse an embedded magnet unless that model’s instructions allow it.
03 · Identify both halves
Send a small, useful set of details
- A whole-door photo, with the moving panel identified.
- End views of both old profiles and any original part codes.
- Glass thickness, closed gap at top/middle/bottom, and each required length.
- A top-view sketch showing the closed panels and opening direction.
State whether the old profiles were fitted during measurement. The seal selection guide explains the basic dimensions.
One replacement strip or a complete pair?
A confirmed original spare can replace one side. If the retained half cannot be identified, ask the supplier to confirm a pair for the complete installation. Check exactly what the pack includes.
For trade approval, check full-length samples in the intended enclosure. A short offcut helps identify a section but cannot demonstrate full-height contact or door travel.
Ready to fit? See the replacement sequence →About the author
GoldRays technical team
The GoldRays technical team writes these guides at the GoldRays factory in Foshan, China, where clear PVC and polycarbonate shower door seals have been made since 2001. The team works with more than 40 production lines and more than 3,200 moulds for 4 to 15 mm glass, and answers trade questions about fit, materials and testing.